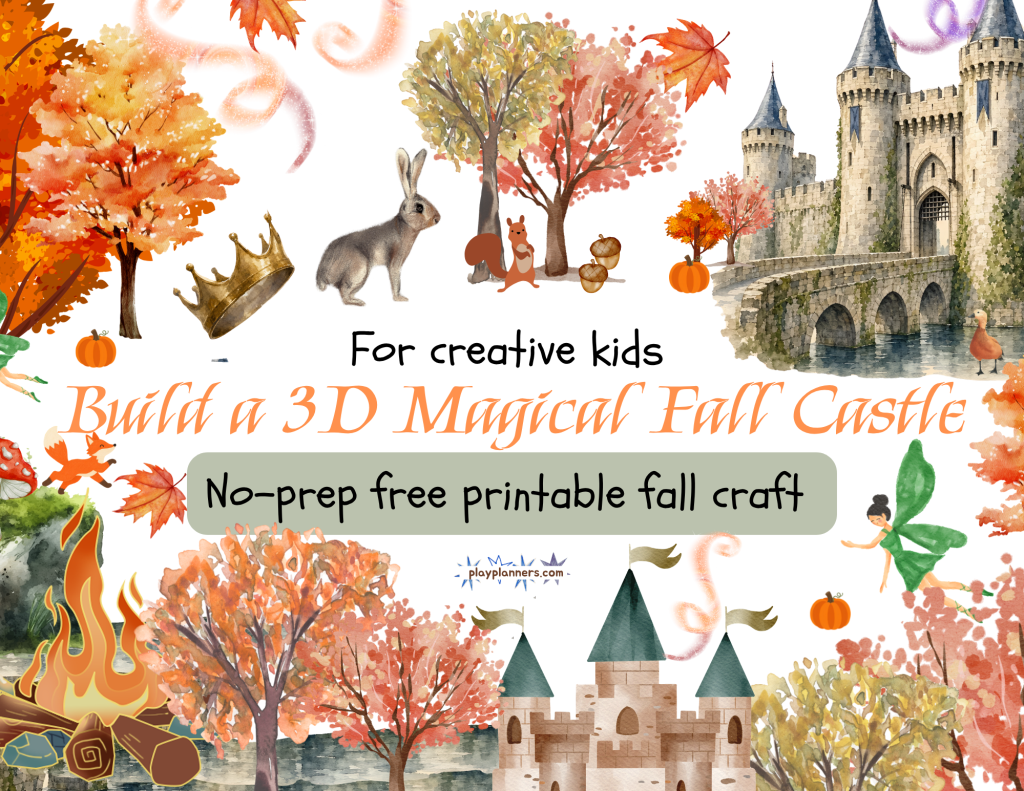
Looking for a creative fall craft that lets kids use their imagination? This free Magical Fall Castle Craft gives kids everything they need to build and decorate their very own enchanted castle.
Pin this for later!
Kids can color the castle pieces, cut them out, assemble a 3D castle, and then create their own magical fall scene using printable decorations. From pumpkins and colorful fall trees to fairies, woodland animals, mushrooms, magical sparkles, and tiny snails, kids can turn their castle into a cozy autumn fairy-tale world.
This printable craft is a fun screen-free activity for classrooms, homeschool, babysitters, playdates, or a cozy fall afternoon at home.
Free Printable Magical Fall Castle Craft
This Magical Fall Castle Craft is a build-your-own paper castle that kids can customize from start to finish.
The printable includes 10 pages of castle pieces, decorations, and instructions.
The first 9 pages are black and white, making them easy on your printer. Kids can color the castle pieces themselves before cutting and assembling their castle.
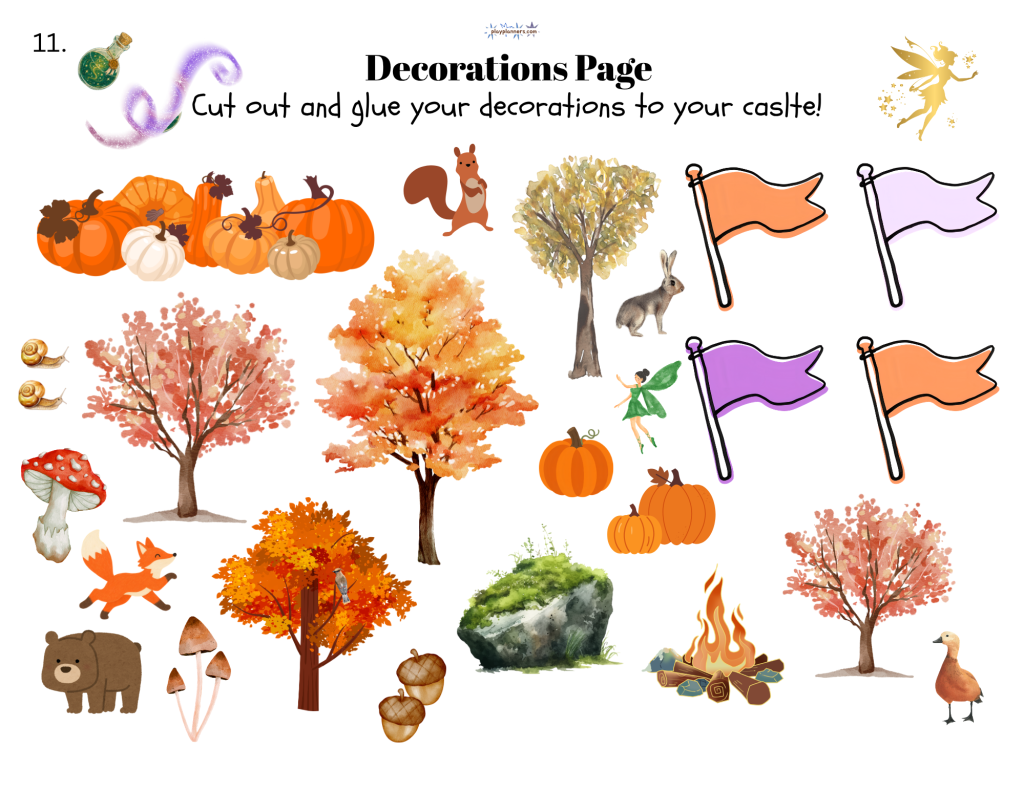
The final page is filled with colorful fall and magical decorations that kids can cut out and attach to their finished castle.
The printable also includes step-by-step assembly instructions, so you don’t have to keep going back to your phone or computer while you’re building.
Kids can have the instructions right beside them as they work through each step, keeping the craft hands-on and screen-free.
It’s part coloring activity, part building craft, and part imaginative play!
What’s Included in the Magical Fall Castle Printable?
The printable includes everything kids need to create their own magical castle.
- 4 castle walls: front, back, right, and left
- 4 castle towers
- Castle base
- Roof base
- Castle windows
- Brick details
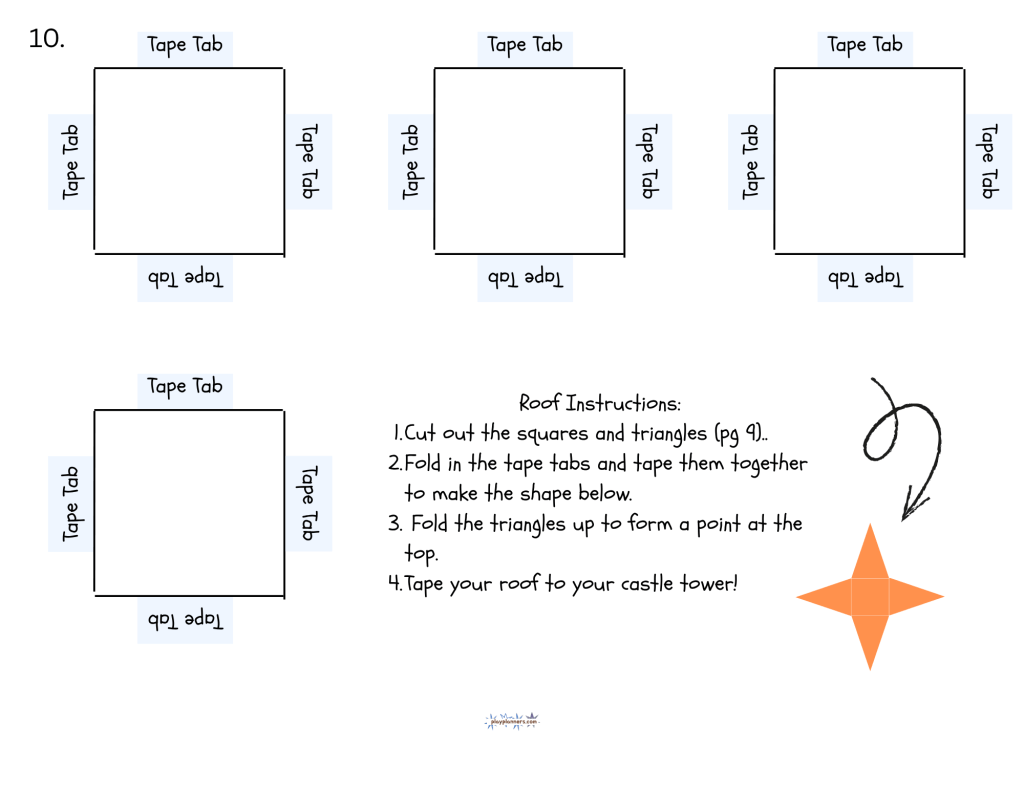
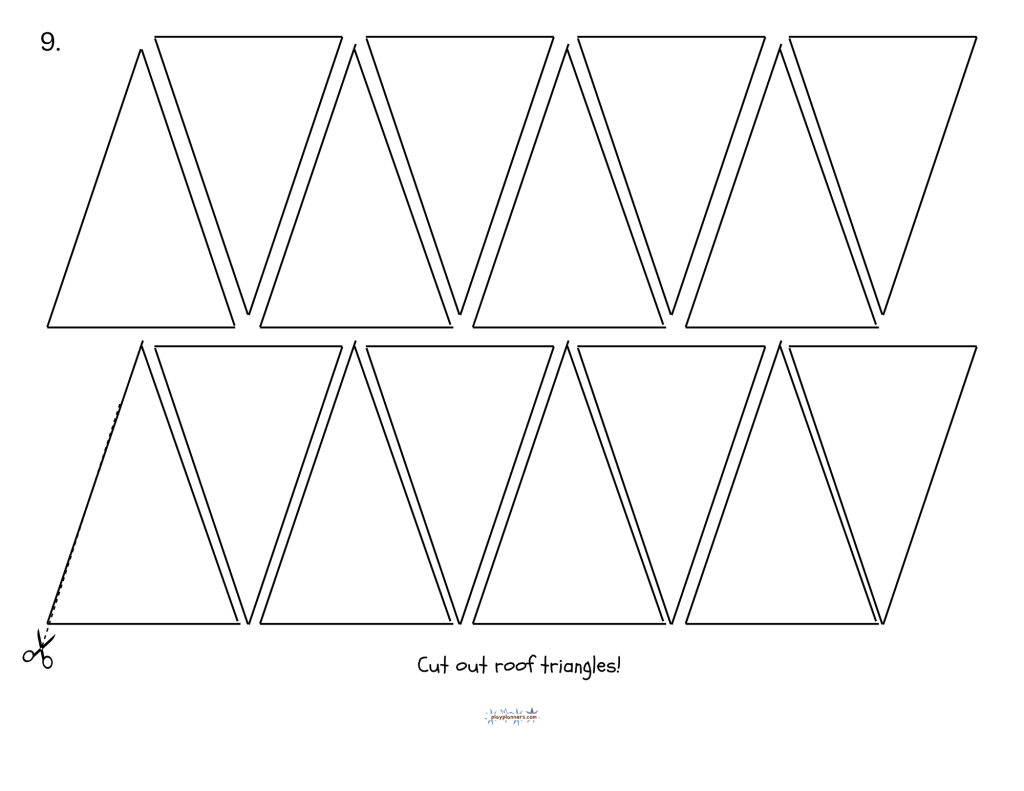
- Tower roofs
- Castle flags
- Fall and magical decorations
- Step-by-step printable assembly instructions
The castle pieces are designed to be colored, cut out, and assembled into a three-dimensional paper castle.
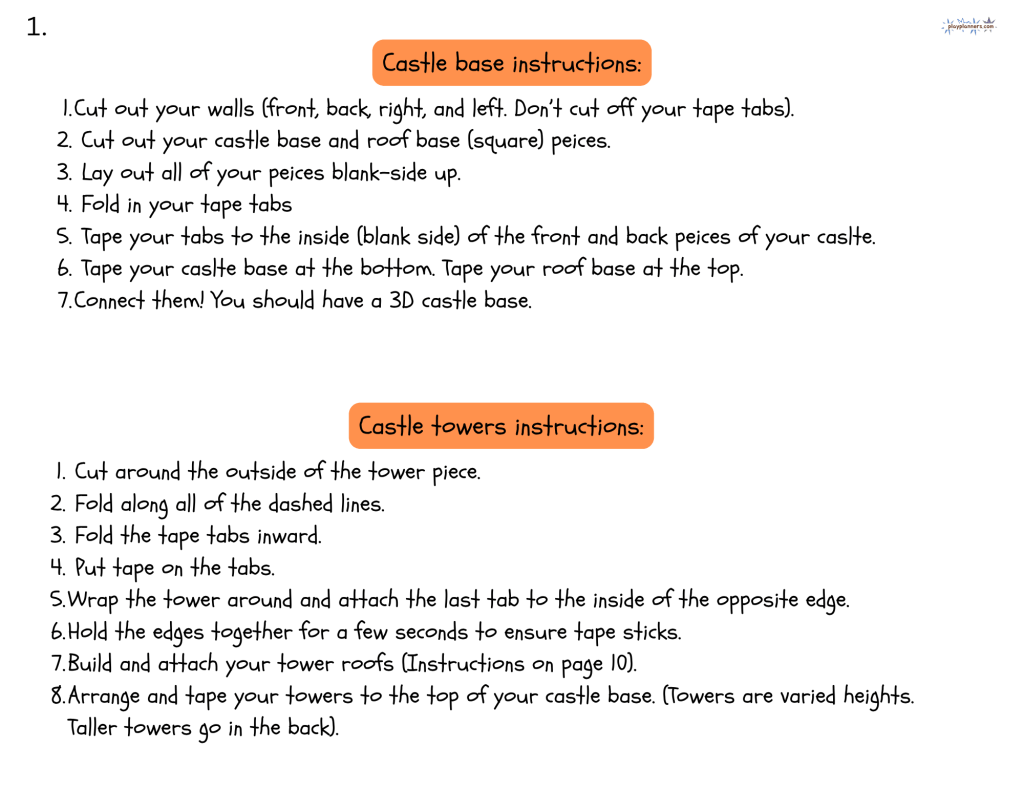
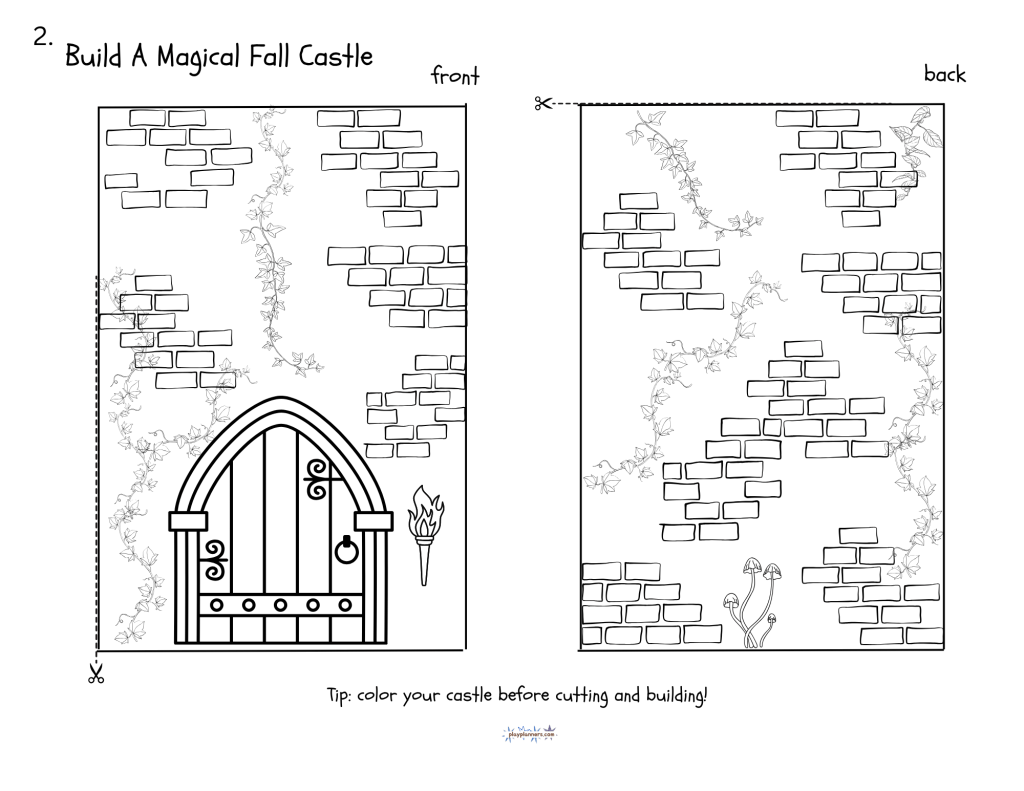
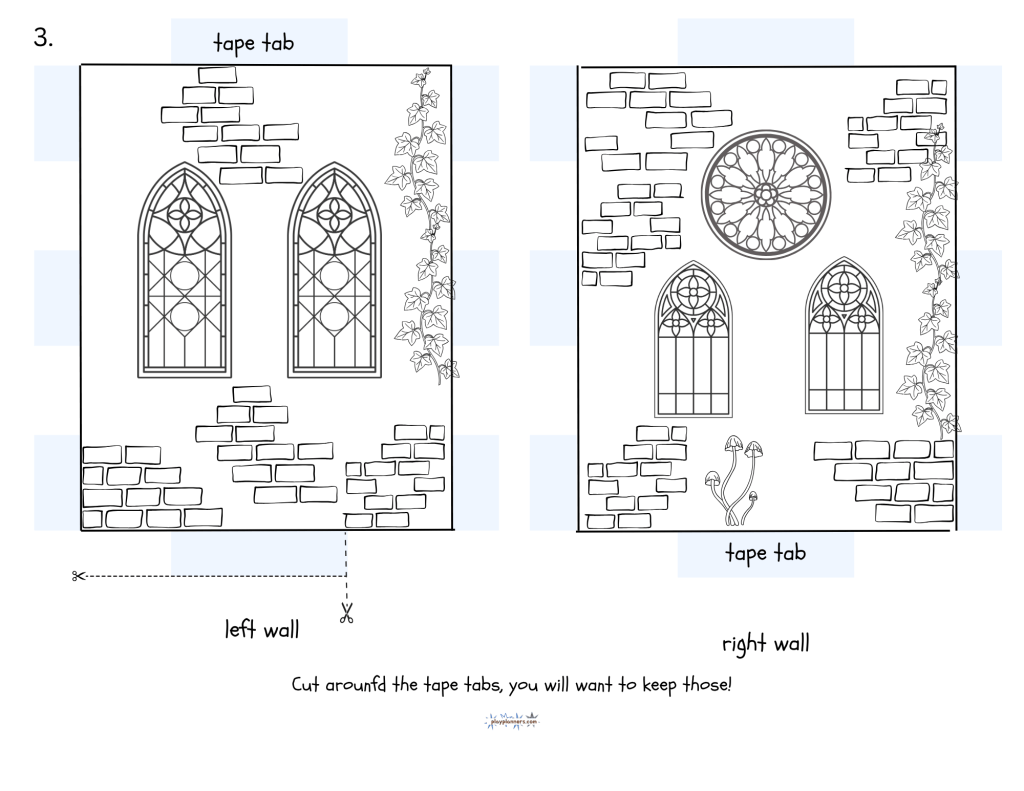
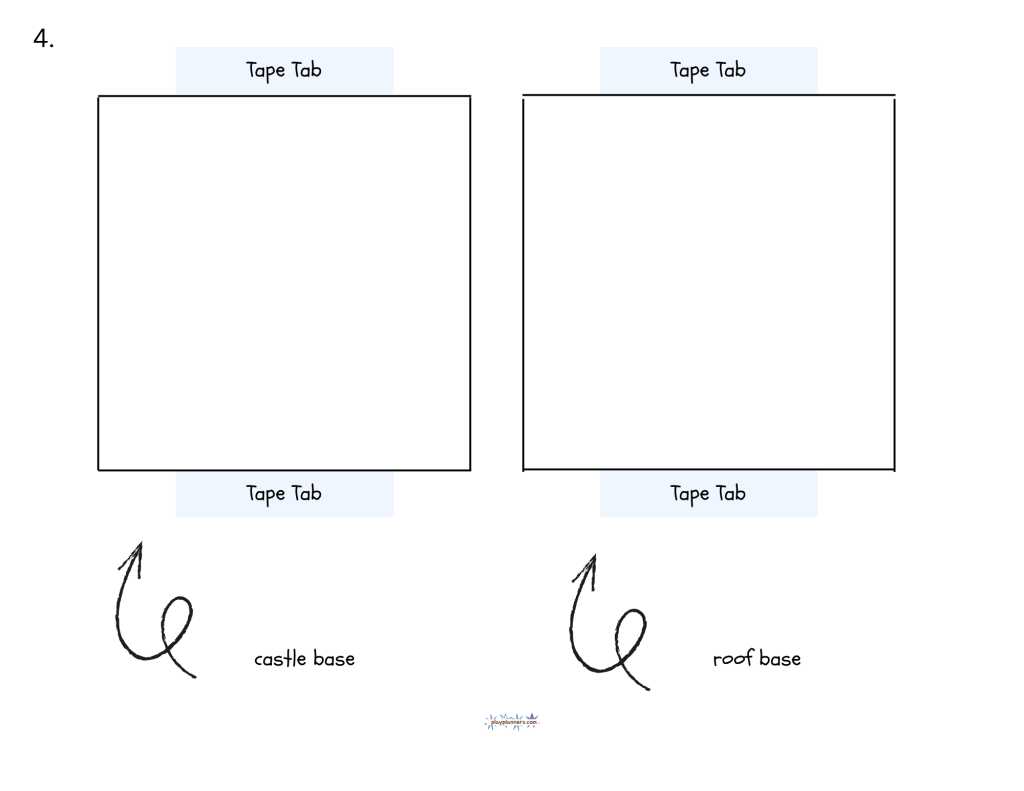
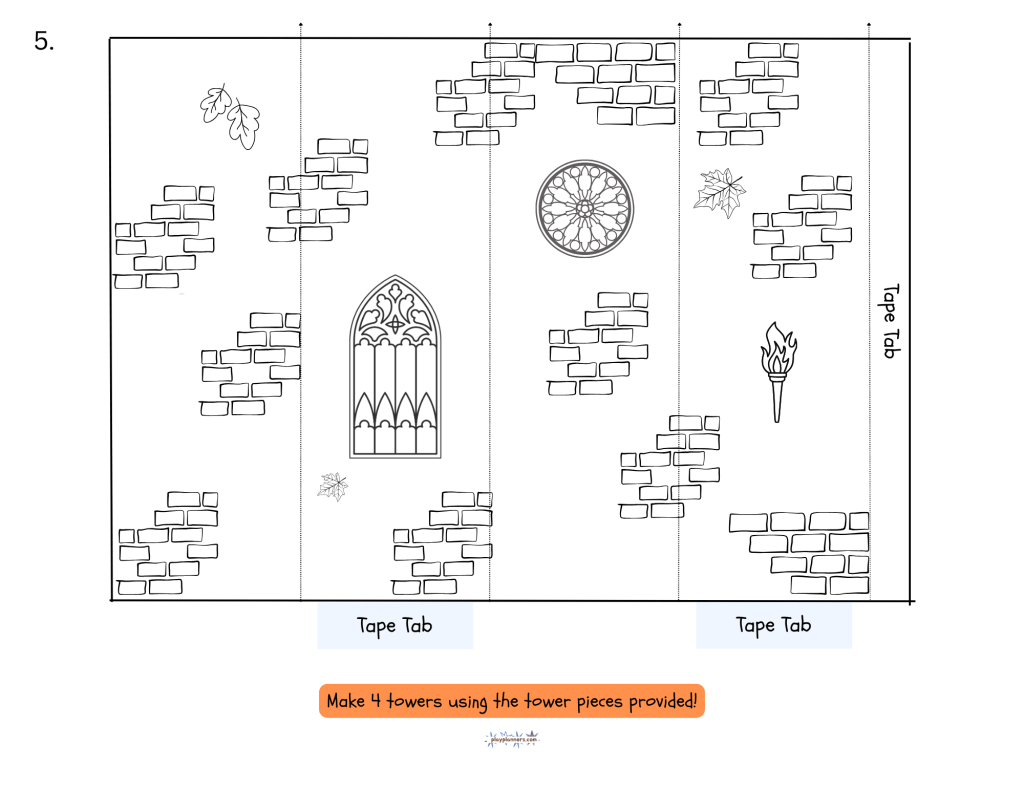
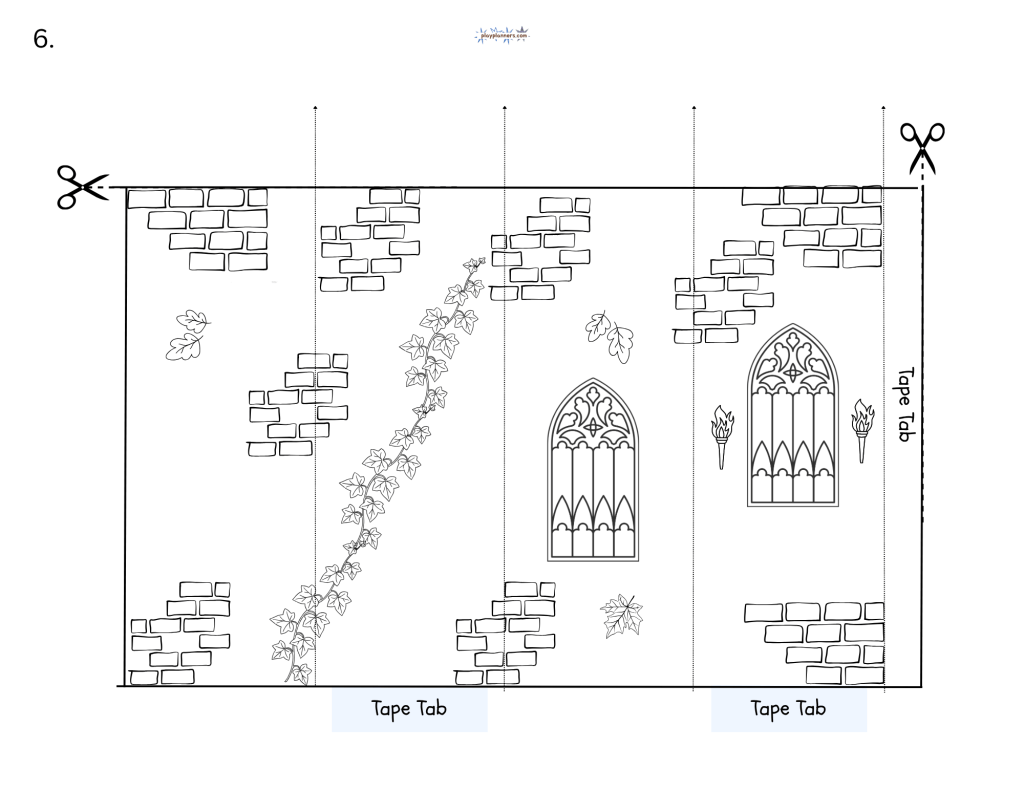
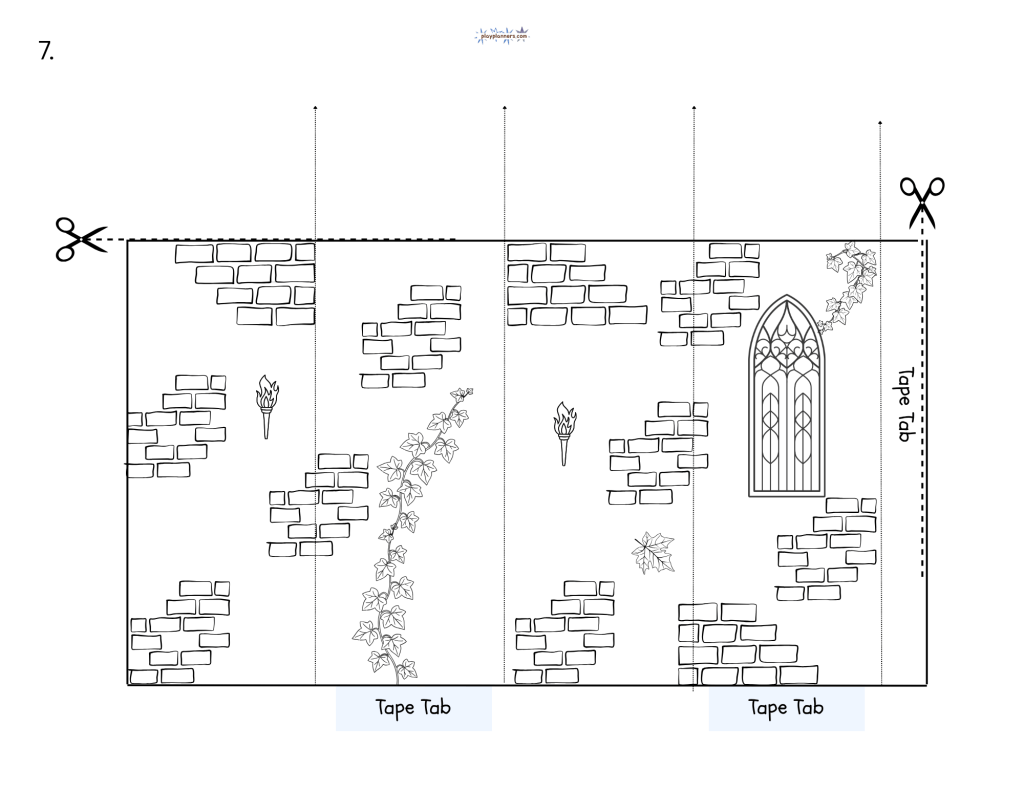
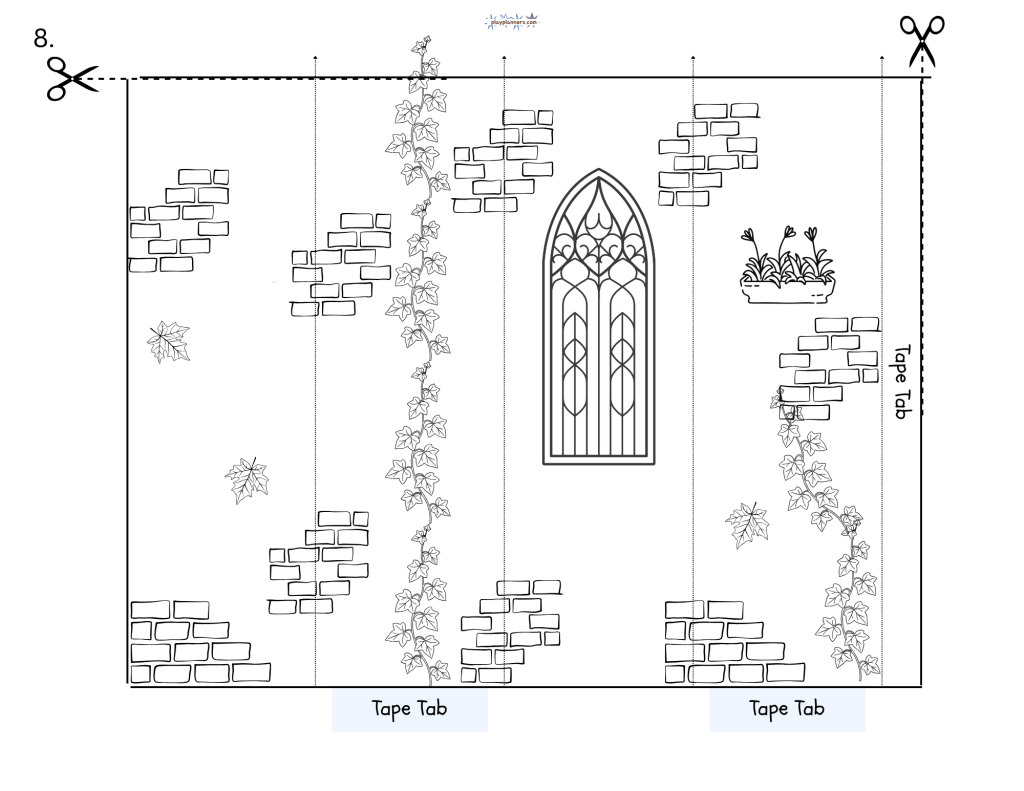
Kids can decide how they want their castle to look, from the colors of the bricks and windows to the decorations they add at the end.
Printable Instructions Included
You don’t have to keep your phone nearby to figure out how to assemble the castle.
The step-by-step instructions are included on a printable page, so kids can keep the directions right beside their craft while they work.
The instructions walk them through:
- Cutting out the castle pieces
- Folding the tape tabs
- Assembling the castle walls
- Attaching the castle base and roof base
- Building the towers
- Making the tower roofs
- Attaching the towers
- Adding the fall decorations
This makes the activity easier to follow and keeps the building process screen-free.
How to Build the 3D Castle
Once the castle pieces are colored, it’s time to put everything together!
The castle does require some cutting, folding, and taping, so younger children may need help from an adult with the assembly.
Step 1: Cut Out the Castle Walls
Cut out your four castle walls: the front, back, right, and left walls.
Be careful not to cut off the tape tabs. These tabs are what you’ll use to connect the castle pieces.
Step 2: Cut Out the Castle Bases
Cut out the castle base and the square roof base pieces.
Step 3: Lay Out Your Pieces
Lay all of your castle pieces out blank-side up.
This makes it easier to see where the tape tabs will be attached during assembly.
Step 4: Fold the Tape Tabs
Fold in all of the tape tabs along the dashed lines.
Step 5: Attach the Front and Back Walls
Put tape on the tabs and attach them to the inside, or blank side, of the front and back pieces of your castle.
Step 6: Attach the Castle Base
Tape the castle base to the bottom of the castle.
Then tape the square roof base to the top.
Step 7: Connect the Castle Walls
Connect the four castle wall pieces together.
When you’re finished, you should have a 3D castle base.
How to Build the Castle Towers
The castle towers are assembled separately before you attach them to the castle.
Step 1: Cut Out the Tower Pieces
Cut around the outside of the tower piece.
Step 2: Fold the Dashed Lines
Fold along all of the dashed lines on the tower piece.
Step 3: Fold the Tape Tabs
Fold the tape tabs inward.
Step 4: Add Tape
Put tape on the tabs.
Step 5: Wrap the Tower
Wrap the tower around and attach the last tab to the inside of the opposite edge.
Hold the edges together for a few seconds to make sure the tape sticks securely.
Repeat these steps for each tower.
How to Make the Castle Tower Roofs
The tower roofs are made from the square and triangle pieces included in the printable.
Step 1: Cut Out the Roof Pieces
Cut out the squares and triangles on page 9.
Step 2: Fold and Tape
Fold in the tape tabs and tape them together to create the roof shape.
Step 3: Create the Point
Fold the triangles upward to form a point at the top of the roof.
Step 4: Attach the Roof
Tape the finished roof to the top of your castle tower.
Repeat for each tower.
Attach the Towers
Once all of your towers and roofs are finished, it’s time to put the whole castle together!
Arrange and tape the towers onto the top of your castle base.
The towers are different heights, so pay attention to where you place them.
The taller towers should go in the back.
Once the towers are attached, your 3D magical castle is ready to decorate!
Decorate Your Magical Fall Castle
Now comes one of the most fun parts!
The final printable page includes colorful decorations that kids can cut out and tape onto their finished castle.
The decorations include:
- Fall trees
- Pumpkins
- Fairies
- Fairy potion
- Magical sparkles
- Bear
- Fox
- Duck
- Bunny
- Squirrel
- Mushrooms
- Castle flags
- Snails
- Mossy rock
Kids can create their own magical autumn world around the castle.
Maybe a fairy lives in one of the towers. Maybe a fox visits the castle every morning. Maybe there’s a secret potion hidden behind the pumpkins!
There isn’t one right way to decorate it.
A Fall Craft That Encourages Imagination
One of my favorite things about this craft is that kids get to make creative choices throughout the entire activity.
They aren’t simply coloring a picture that looks the same when they’re finished.
They get to decide:
- What colors their castle will be
- How to decorate the walls
- Where to place the towers
- Which fall decorations to use
- Where the animals live
- Where to put the fairies
- What their magical castle is called
- Who lives inside
- What kind of magical things happen there
The finished castle can become the setting for all kinds of imaginative stories and pretend play.
Easy on the Printer
This printable was designed with printing in mind.
9 of the 10 pages are black and white, so kids can color the castle pieces themselves without using lots of colored ink.
The final page is in color and includes the ready-to-cut fall and magical decorations.
For the best results, you can print the castle pages on regular printer paper or slightly heavier paper or cardstock if you’d like a sturdier castle.
How to Make the Magical Fall Castle
Here’s the basic process from start to finish:
- Print all 10 pages.
- Read through the printable instructions.
- Color the black-and-white castle pieces.
- Cut out the castle walls, bases, towers, and other pieces.
- Fold along the dashed lines.
- Use the tape tabs to assemble the castle.
- Build the tower roofs.
- Attach the towers to the castle.
- Cut out the colorful fall decorations.
- Tape the decorations onto your castle.
- Create your own magical fall story!
A Great Fall Craft for Kids
This printable castle craft is a fun activity for a variety of settings.
For Babysitters and Nannies
Need an activity that will keep kids busy for more than five minutes? This craft gives kids several steps to work through — coloring, cutting, building, and decorating — followed by imaginative play.
The printable instructions also mean you don’t have to keep your phone out while you’re helping kids with the craft.
For Homeschool
Use the castle as part of a fall craft day or pair it with creative writing. After building their castle, kids can write a story about who lives there and what happens during a magical autumn day.
For Classrooms
This can make a fun fall craft project or imaginative play activity. Kids can create their own castles and then share the stories behind their designs.
For Home
Set out the printable on a cozy fall afternoon and let kids create their own magical world.
Free Magical Fall Castle Craft Printable
Ready to build your own enchanted autumn castle?
Download the free Magical Fall Castle Craft printable and let the creativity begin!
Color the castle, cut out the pieces, build your 3D castle, and then decorate it with fairies, pumpkins, woodland animals, fall trees, mushrooms, and magical details.
Once your castle is finished, don’t forget to give it a name and decide who lives inside!
Looking for more AWESOME kid stuff?
3 Free Printable Fall Crafts for Kids: Build a Pumpkin, Magical Fall Tree & Cozy Outfit
Looking for a fun fall printable craft for kids that is a little different from the usual coloring pages? These free fall cut-out crafts let kids color, cut, mix and match, and use their imagination to create their own fall-themed designs. Pin this for later! This free printable set includes three build-your-own fall crafts: These…

50 Fall Activities for 9-Year-Old Girls 🍂
Looking for fun fall activities for 9-year-old girls? Whether you’re planning a cozy afternoon at home, a fall babysitting day, a girls’ playdate, homeschool activities, or a weekend full of autumn fun, this list has 50 cute, creative, and unique fall activities for kids. Pin this for later! At age 9, kids are old enough…




Leave a comment